

Hi Guys!
I'm super excited to share this D.I.Y. with you!It's a super cute rooster that I made,
only using fimo clay and nailpolish.
This little rooster wasn't hard to put together at all,
but it was super fun!
You can also make a charm out of this (eg. for on a necklace),
which was my original plan, but I couldn't find eye pins.
This is going to be a mini series,
probably of four parts.
The special thing about these series is that you need the same tools for every charm,
so it's very easy and budget to make!
The only extra thing you will need are some additional nailpolishes.
Let's get started!
What you will need:

- Yellow, white and red fimo clay.
- A clear and black nailpolish
- A dotting tool and a little brush
- A utility knife!

- White
- A bright and/or pastel pink
Directions:


Put it all together!

Time to bake! Just follow the instructions given on the package of your fimo clay.

This is what it should look like after coming out of the oven! Give it some time to dry before you paint it. About five minutes is enough, because it's so small.
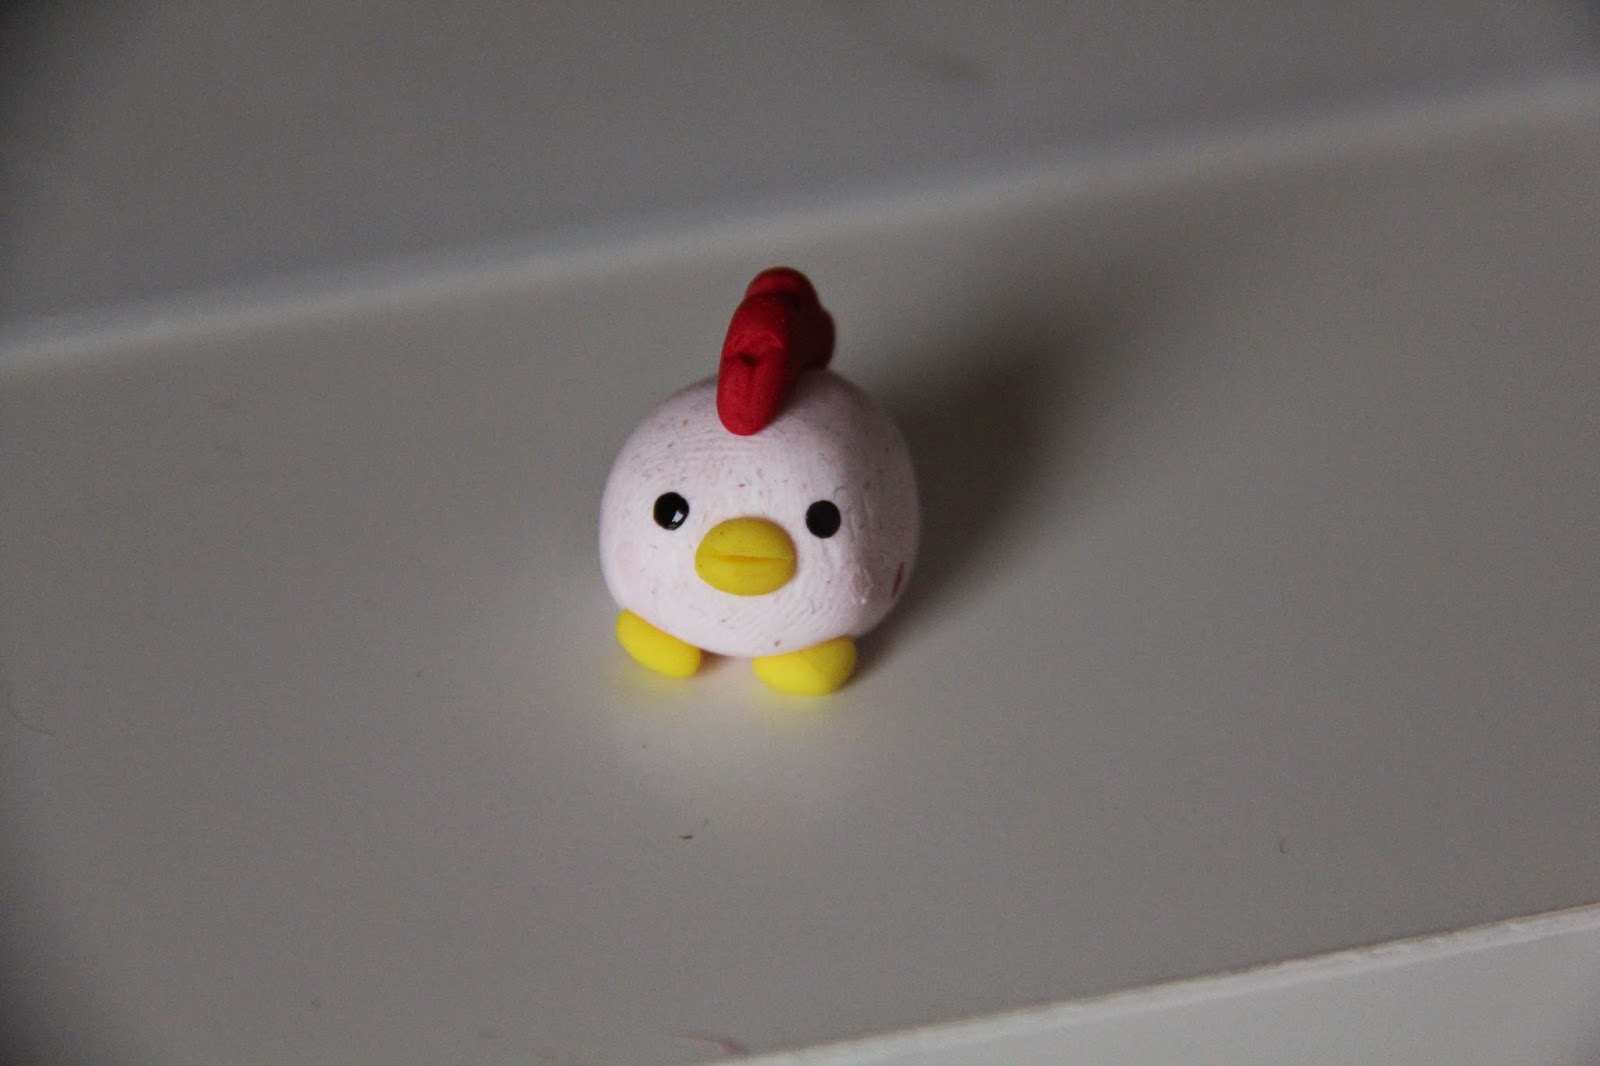

After doing the sheer pink, I decided it didn't show off very well, so I went over it with a brighter colour. I also added some pupils, and after that I left it to dry. Really make shure you let it dry well, because you don't want to smudge out the nailpolish! After it has fully dried, you can glaze it up! For this you can use regular glaze, but I used a top coat. After that you're done!

So that's the finished poduct of this quick and easy D.I.Y.! It looks super cute, and it is really pretty on a necklace or bracelet. When you don't have eye pins (like me) you can just use it as decoration on your desk or something like that. Thanks for reading, I hope you enjoyed it!
Did you ever make anything using fimo clay before?
xXx Me
No comments:
Post a Comment