

I'm back with an awesome d.i.y. poject I've been working on for a while!
To show off my Ravenclaw pride,
I decided to make this Ravenclaw ring.
I'm sorry I don't have a tutorial for you,
but I hope these photos and the discription and tips I will give still help you!
Let's start!


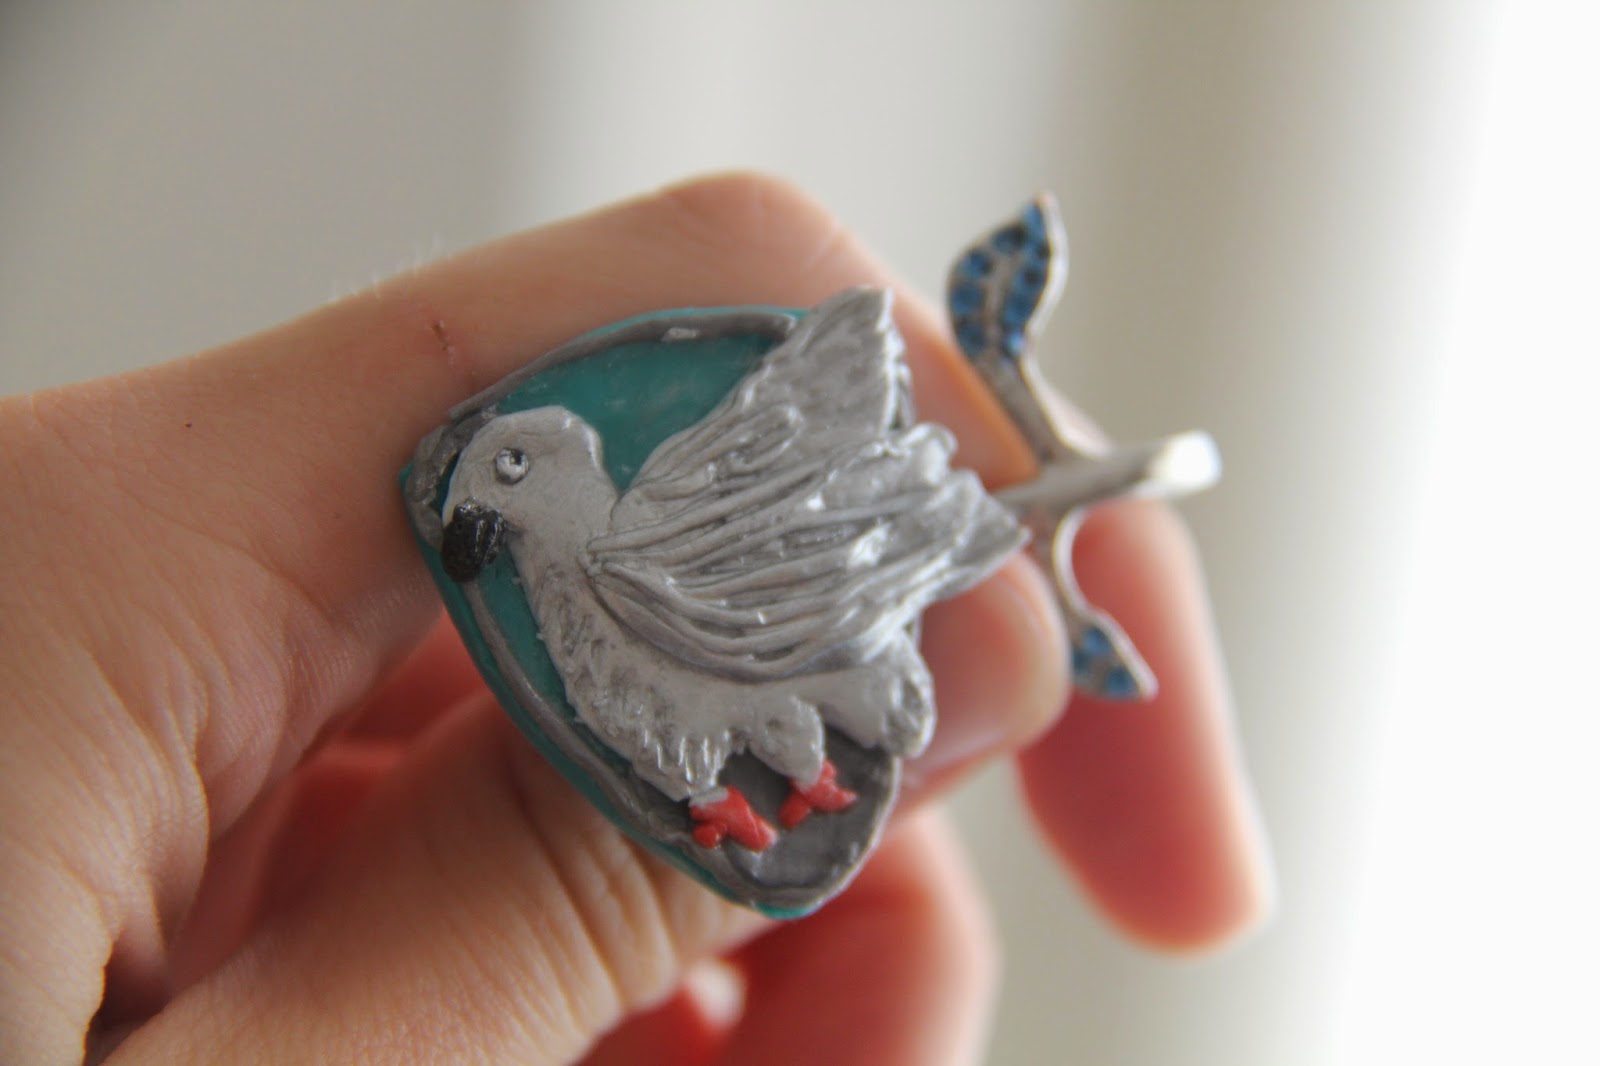
To start with I needed an example, so I used the picture above as an inspiration. I changed the colours a bit, simplified the design and changed the proportions, so it was possible for me to make it ;-). I used blue, white and black clay to make the ravenclaw crest. I also mixed red and yellow to make orange for the claws. The silver along the border I mixed using white and a bit of black. I made the bird using white clay, and than coloured it using silver nailpolish.


While the crest was baking, I started to work on the metal frame for the ring. I cleaned the surface on which I was going to stick the crest. After that I took out the old rhinestones and coloured the hollows that they left behind blue (using nailpolish and a toothpick).
When the crest is done baking, it is time for paint! I painted the bird silver, and added a little wite dot on the eye. When everything dried up, I glazed it.


Now for the most important part: attaching your little artwork to the ring in way that it won't fall off. Firstly, I decided where I was going to attach the crest to the ring. After I was sure of the placement, I used superglue to quickly stick it together. When that was done drying, I covered the whole back of the ring in nailglue, and I let that dry very well. To top it all off, I used a transparant topcoat. Now it should stay in place!


Back to topic! I wish you a lot of luck wih your little D.I.Y. Project, and I hope you enjoyed reading this post as much as I enjoyed making it!
What your Hogwarts House?
xXx Me
No comments:
Post a Comment